
Last updated September 20, 2026
Free on-site gate assessment - hinges, posts, and your LiftMaster or Nice gate operator checked before anything is quoted
The assessment is free and the quote is the invoice.

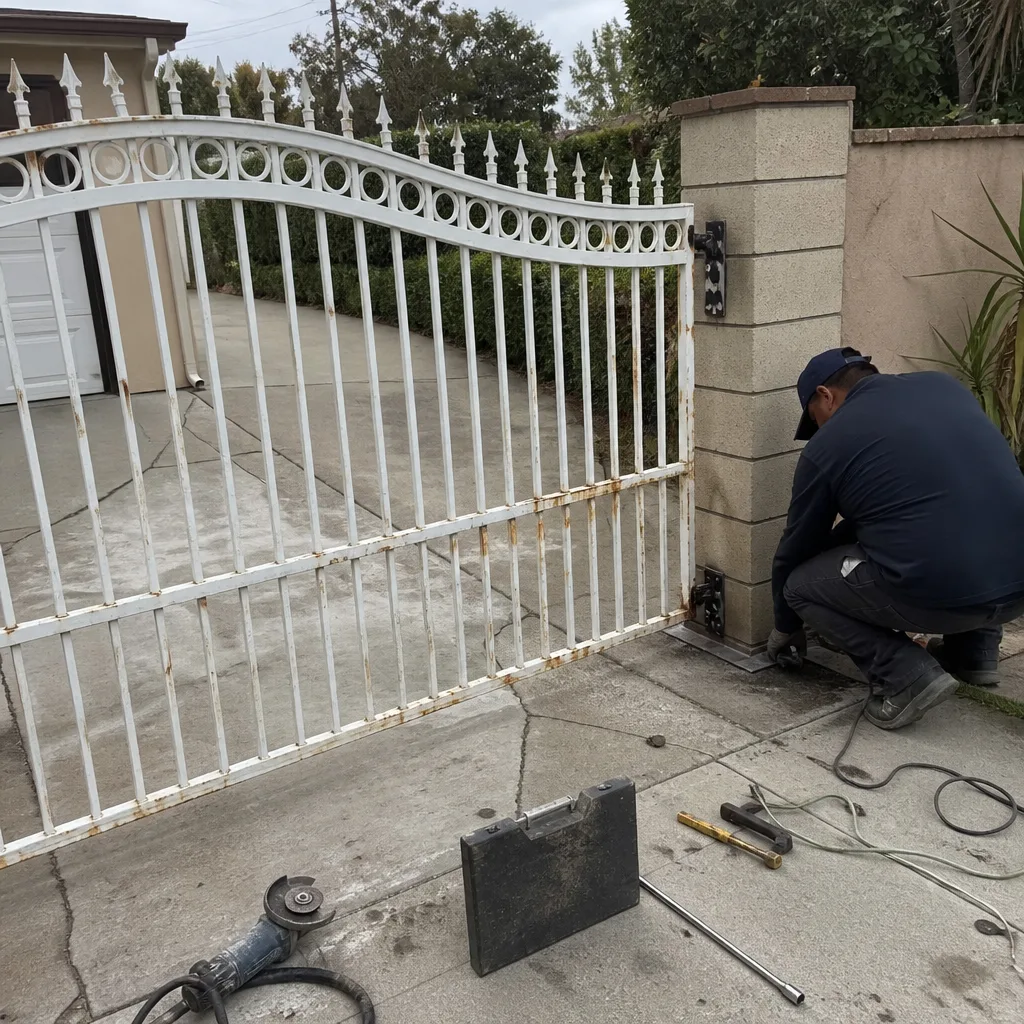 Before
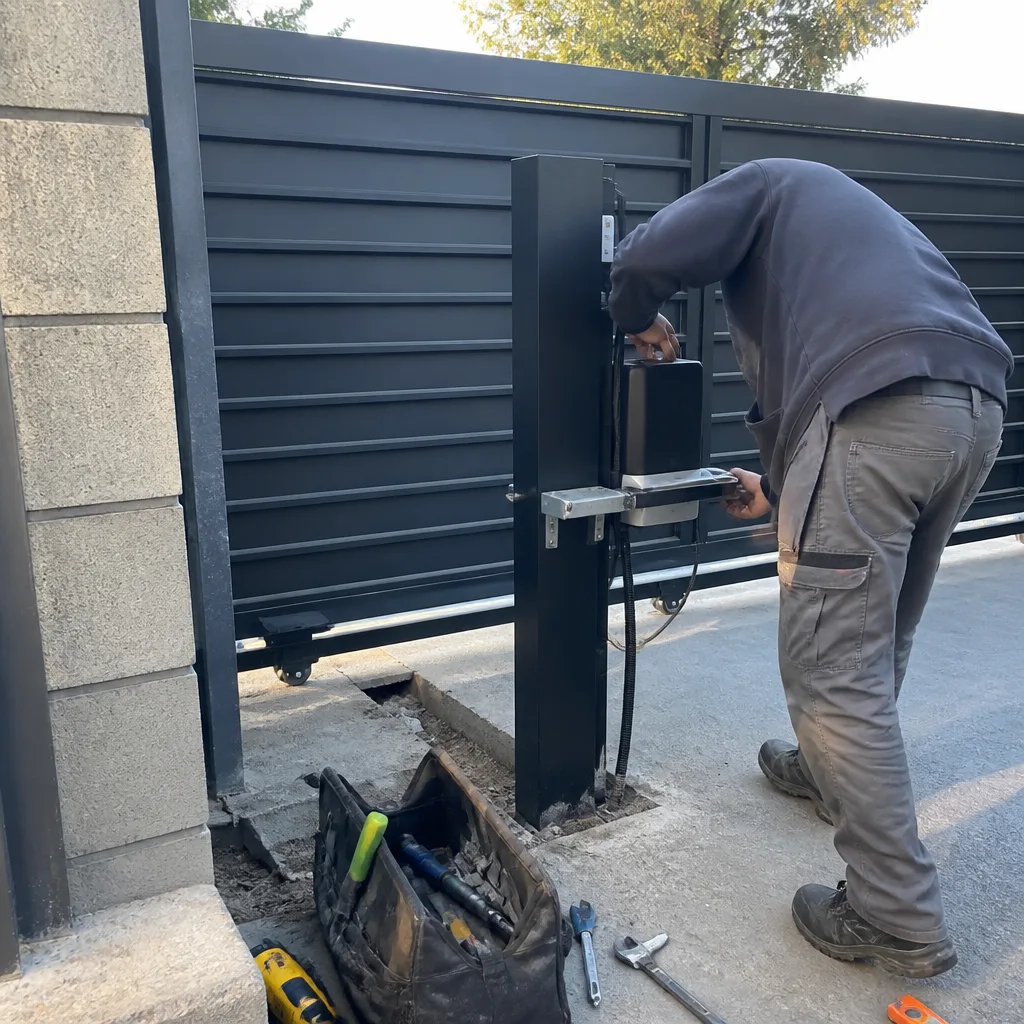 After
After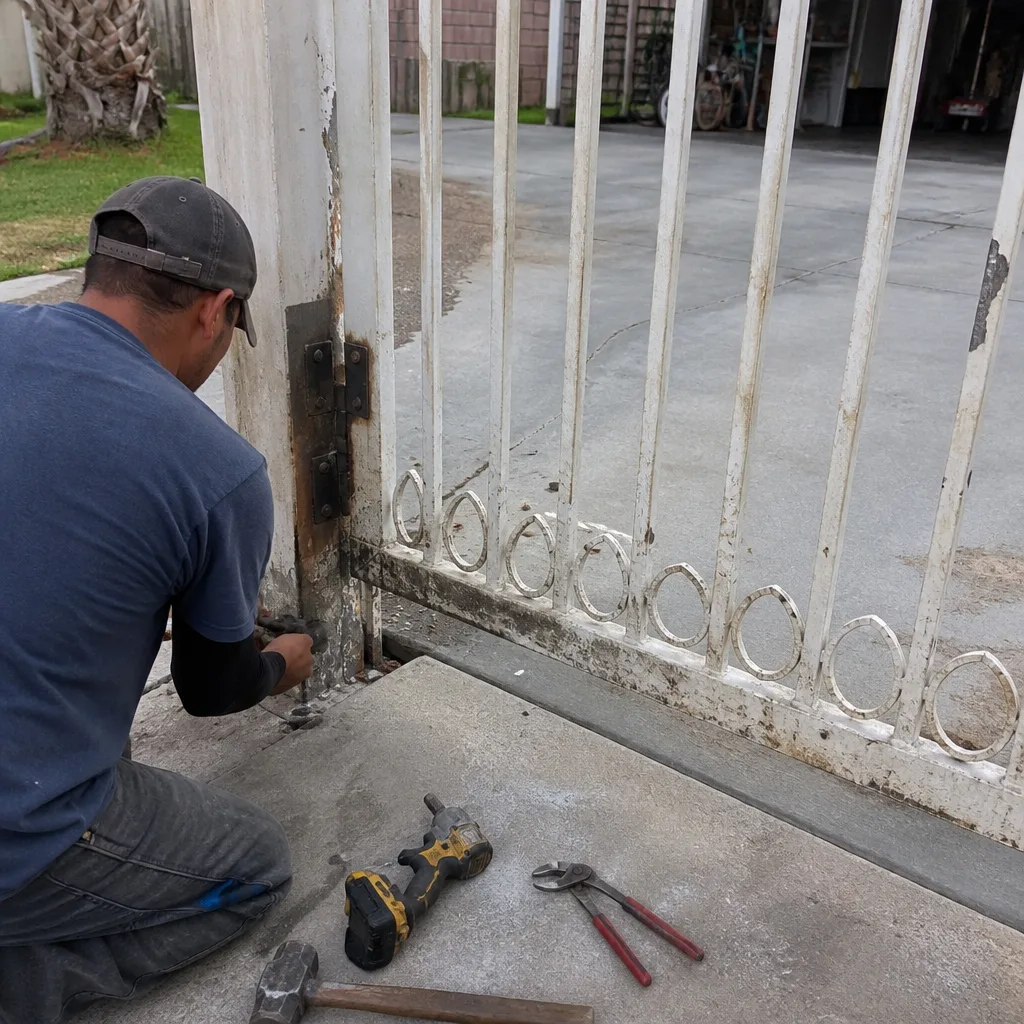 Before
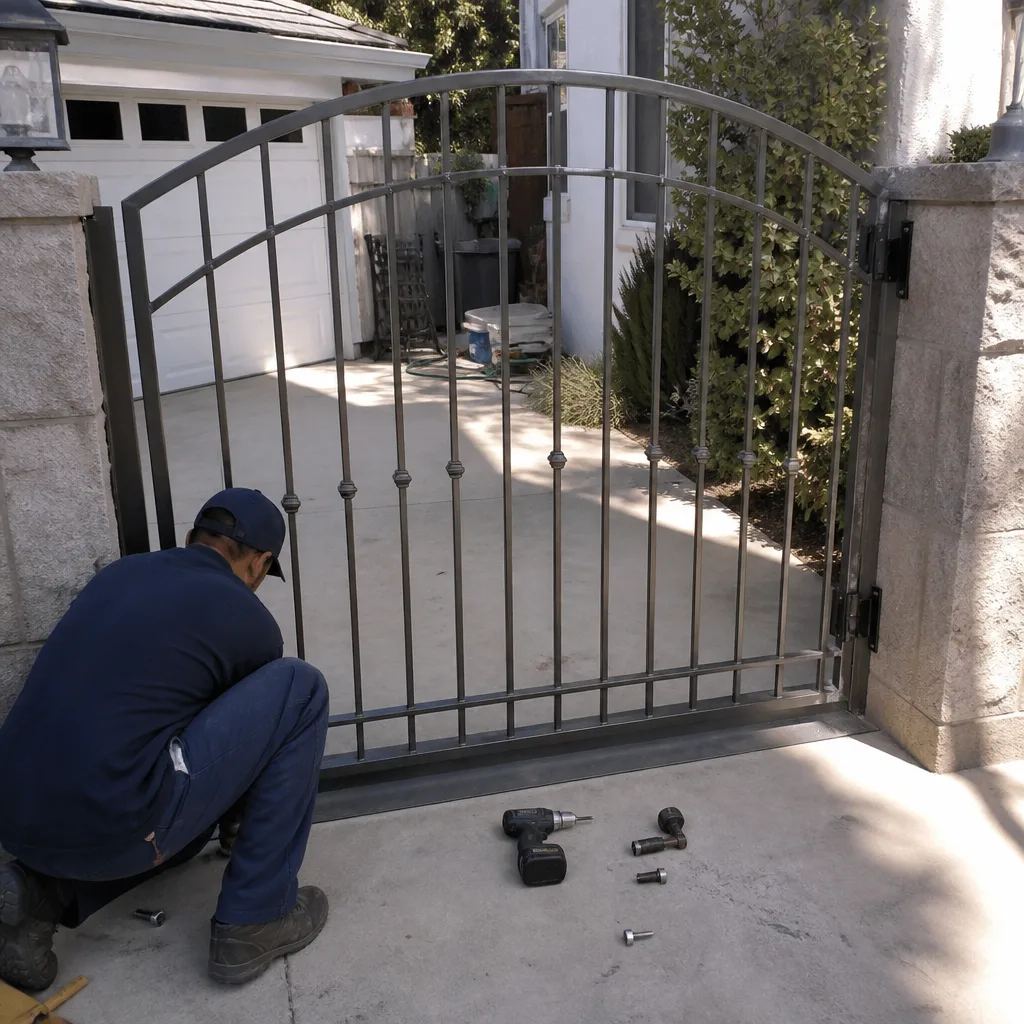 After
After Before
 After
AfterDIY vs Professional Gate Repair: The Canoga Park Homeowner’s Decision Guide
Most gate repair advice sorts tasks by how confident you feel. That’s backwards. The real line isn’t skill, it’s recoverability: can you photograph what you changed, describe it in one sentence, and undo it if the result is worse than the symptom? Every year we’re called to Canoga Park homes where a well-intentioned owner fixed the gate in a way that left no record, and the follow-up Gate Repair services call cost three times what the original repair would have. This guide sorts the work by that standard. You’ll learn which tasks have a safe stopping point, which ones create hidden liability even when they work, and what to hand a technician when you’ve already started.
Quick Answer
Most Canoga Park homeowners can safely handle lubrication, remote battery replacement, and minor limit-switch fine-tuning on driveway gates. Control board work, motor replacement, post resetting, and anything involving line voltage belongs in professional hands, not because you lack skill but because an undocumented repair creates a diagnostic tax the next technician must pay in hours. The practical split: if you can photograph the before state, write one sentence about what you changed, and photograph the after, it’s defensible DIY. If you cannot do all three, hire a professional.
Table of Contents
- The Task-by-Task Table: Where the Line Actually Falls
- The Documentation Test for Any DIY Gate Task
- UL 325 and You: The Code Problem DIY Can’t Solve
- The Real Cost Math: When DIY Saves and When It Multiplies
- You Already Started: What to Hand a Professional After Partial DIY Work
- Common Mistakes to Avoid
- When to Call a Professional
- Frequently Asked Questions
- The Bottom Line
BeforeAfterThe Task-by-Task Table: Where the Line Actually Falls
Here is the framework we use when a Canoga Park homeowner asks whether a task is DIY-appropriate. The classification has nothing to do with how “handy” you are. It rests on one question: does this task have a defined safe stopping point that leaves the gate either working or unchanged? A safe stopping point means you can stop mid-task, walk away, and the gate is in the same state as when you started, not worse.
| Task | Classification | Reason |
|---|---|---|
| Hinge and track lubrication | Safe DIY | Minimal moving parts, fully reversible, no electrical exposure. Use white lithium grease on metal-on-metal contact points, silicone spray on rollers. |
| Remote battery replacement | Safe DIY | Zero hardware modification. The transmitter is self-contained. If the new battery doesn’t fix it, the old symptom remains unchanged. |
| Photo-eye sensor cleaning and minor alignment | Requires documentation discipline | Alignment is adjustable and recoverable, but a misaligned photo-eye disables the gate’s primary safety circuit. Photograph the sensor position before touching it. One-quarter inch of drift matters. |
| Chain tension adjustment | Requires documentation discipline | Adjustable within a range, but overtensioned chain wears the motor sprocket. Mark the original position with a paint pen before loosening anything. |
| Limit-switch fine-tuning | Requires documentation discipline | Small, repeatable adjustments are recoverable. A full limit reset is not. If you’re making a quarter-turn, fine. If you’re starting from zero, stop. |
| Control board diagnostic work | Professional only | Intermittent faults require signal tracing across live terminals. One undocumented wire swap creates a fault tree that takes hours to map, even for a trained technician. |
| Gate post reset or concrete work | Professional only | Structural load, leveling, and concrete cure time. A leaning post misaligns the entire gate and stresses the motor. Getting this wrong damages every component downstream. |
| Motor or gearbox replacement | Professional only | Removal requires spring tension release on many operators. Wrong release sequence can fire a loaded spring. This is genuinely dangerous, not theoretically dangerous. |
In Canoga Park we see the same pattern repeat: homes in the neighborhoods around Lanark Park and along Vanowen Street have driveway gates from every era of automation, from early 2000s Mighty Mule to current LiftMaster operators. The gate hardware ages differently depending on whether it faces the afternoon sun on a west-facing lot or runs in shade up by the hills. The table above doesn’t change with hardware age, but the margin for error gets thinner as components wear. A 2008 gearbox has less tolerance for a wrong adjustment than a 2024 model.
The Documentation Test for Any DIY Gate Task
Before you pick up a tool, run the documentation test. It’s three questions, and all three answers must be “yes” for the task to be safe to attempt:
- Can you photograph the before state with enough detail that a stranger could reconstruct it? If you can’t capture it clearly, you’ll struggle to restore it. This means the label on the control board, the position of every adjustable collar, the exact routing of every wire before you touch it.
- Can you describe what you changed in one sentence? “Moved the close limit switch counterclockwise approximately 1/8 turn” passes. “Adjusted it until it seemed better” fails. The sentence needs to contain the component, the direction, and the magnitude.
- Can you photograph the after state from the same angle? If yes, you have created a recoverable record. If no, you have created hidden liability: a future problem whose history is invisible.
This test is the practical application of a documentation habit we’ve run since Adrian Vance started doing commercial access-control work in 2014, before Vance Gate Repair ever touched a residential driveway gate. On commercial sites, you document because the facility manager will need the wiring diagram when the board fails in five years. On residential gates, the homeowner needs the same record for the same reason, even though nobody remembered to hand it to them. That expectation is part of why every visit from our Vance Gate Repair Canoga Park home team ends with a written photo log of what was found, what was set, and what was installed, left with the homeowner and filed in the job record.
Here’s what a passing documentation record looks like for a simple sensor alignment: two photos of the photo-eye bracket, one before and one after, a single sentence noting “bracket rotated 3 degrees inward; both photos taken from gate rail level,” and a photo of the gate responding correctly to a beam interruption test. That record takes ninety seconds to produce and it’s worth the entire value of the repair if the symptom returns.
UL 325 and You: The Code Problem DIY Can’t Solve
UL 325 is the standard governing automatic gate entrapment protection in the United States. It mandates specific safety devices, required force settings, and installation practices for automated gates. Every gate operator sold in North America carries a UL 325 listing, and every installation is required to meet the standard’s entrapment protection requirements at minimum.
Why this matters for the DIY conversation: the standard doesn’t care whether a competent person did the work or an amateur. It cares whether the installation complies. If a gate exceeds acceptable force limits, lacks a functioning photo-eye or contact edge, or has entrapment protection that was adjusted out of spec to fix a nuisance tripping problem, the result is a non-compliant gate. In California, with a litigious property-injury environment, the liability consequences of a non-compliant gate rest with the property owner, not with whoever twisted the limit screw.
We see this in Canoga Park most often with older Mighty Mule and FAAC operators where the homeowner adjusted the force setting to overcome a dragging gate caused by bad rollers. The force adjustment was the easy DIY fix. The worn rollers were the hard repair. The result: the gate now operates, but it operates with enough closing force to injure a child or small adult if the photo-eye has also drifted out of alignment. That’s the sequence UL 325 exists to prevent, and it’s the reason DIY force-setting adjustments on a gate with known mechanical problems fall into professional-only territory. The fix isn’t what you adjusted; the fix is understanding what the adjustment concealed.
If a technician from any company services your gate’s safety system, ask them to check entrapment force and beam alignment before they leave. Every professional gate service should be willing to walk you through the UL 325 checklist on your specific gate, telling you exactly what’s compliant and what isn’t. If they can’t explain it in plain language, that’s a signal the explanation wasn’t generated.
The Real Cost Math: When DIY Saves and When It Multiplies
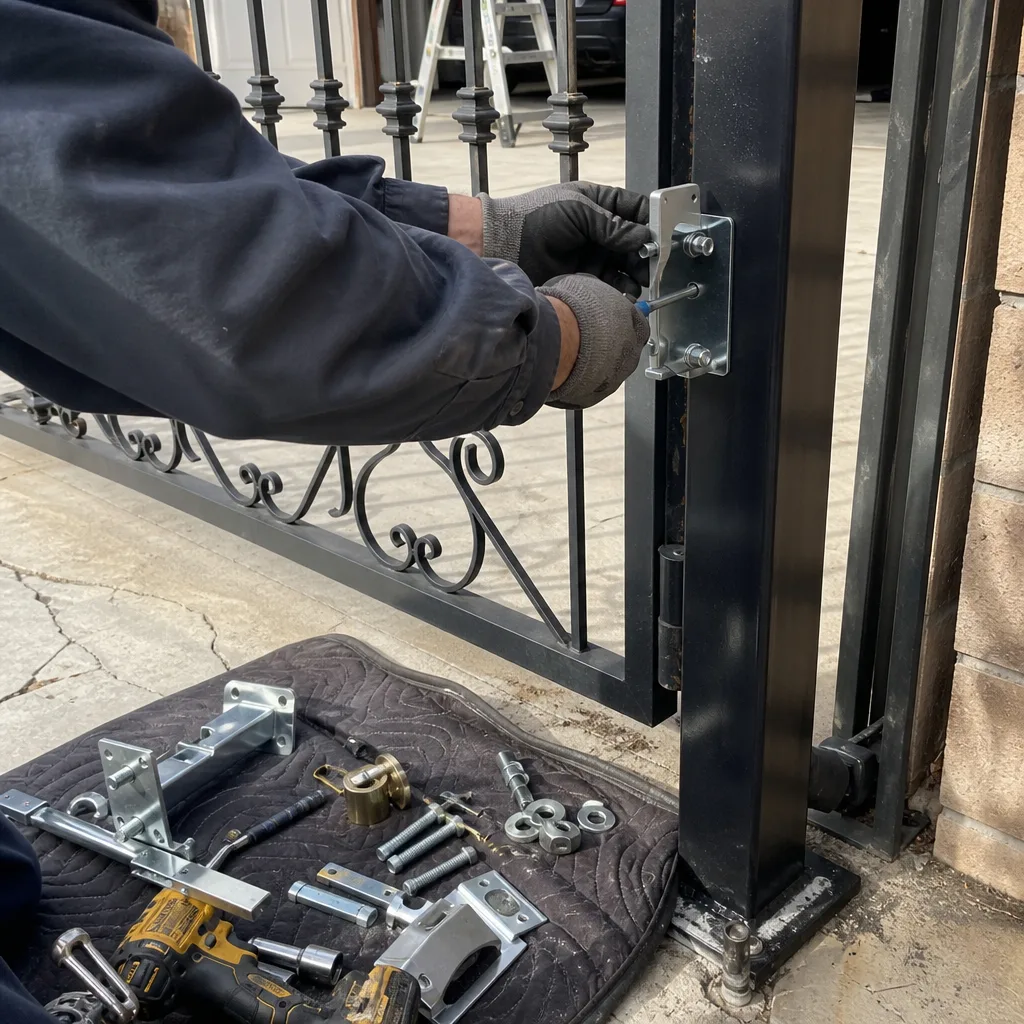
The DIY-vs-professional decision is a cost decision, so let’s put numbers in front of it. In the Canoga Park area, most professional gate repair in Canoga Park runs in predictable bands. A hinge replacement with labor lands between $180 and $320 per hinge depending on gate weight and access. A photo-eye replacement runs between $140 and $260 including the sensor and calibration. A control board replacement, brand-dependent, runs $350 to $850 installed. A motor or gearbox replacement runs $600 to $1,400 for most residential swing gates, with brands like LiftMaster on the higher end of that range and light-duty Mighty Mule units on the lower end.
Now compare the DIY path on the same tasks. Lubrication and remote batteries: DIY is meaningfully cheaper, because a can of white lithium grease costs $9 and a replacement battery costs $4. There’s no diagnostic risk and no recoverability problem. You save nearly the full service-call minimum by doing these yourself.
Photo-eye cleaning: DIY works if the problem is genuinely dirt or a spider web, and you’ve confirmed the alignment didn’t change. If the issue is a slow drift in the bracket or an internal sensor failure, you’ve spent an hour and learned what the problem isn’t. That’s not wasted, but it didn’t save the full cost of a service call either.
Here’s where it multiplies: when a Canoga Park homeowner attempts a control-board-level repair, swaps two wires based on a forum thread, gets the gate working, and then the gate develops an intermittent fault three months later. The next technician arrives, and the wiring no longer matches any schematic. Every diagnostic step now requires tracing circuits back to the transformer, mapping the board, and reverse-engineering what was changed. The documented, schematic-conforming repair that might have cost $200 becomes a $600 tracing job. The DIY attempt didn’t save $200; it created a $400 surcharge. We’ve seen this enough times in Canoga Park that we can count it as a category, not an anomaly.
Bottom line on money: DIY wins when the task is non-electrical, reversible, and doesn’t touch the safety circuit. DIY loses the moment it touches the board, the springs, a loaded tension member, or the concrete the post sits in. The cost curve inverts at that point, and the “savings” turn negative instantly.
You Already Started: What to Hand a Professional After Partial DIY Work
Plenty of Canoga Park homeowners call us after they’ve already been in the gate. That’s not a problem to be embarrassed about; it’s a repair with a running start, and you can make the next service call dramatically cheaper by handing over the right information. The thing that turns a normal service call into an expensive reverse-engineering project isn’t that you worked on the gate. It’s that the work left no record.
When you’ve done partial DIY work and you’re ready to call a professional, here’s the information that changes the diagnostic cost. Gather these five things before you dial:
- Photographs of the current state, taken close and wide. Close-up on the control board label, every terminal, the limit-switch positions, the chain or belt tension, and the mounting brackets. Wide shot showing the whole gate from the rail side. These photos are worth more than a twenty-minute phone description.
- A list of every part you removed, adjusted, or replaced. Include the brand and any part number you can still read. “Replaced a capacitor, board says LiftMaster MLB” is actionable. “Fixed the thing under the cover” is not.
- The sequence of what changed, in order. “First I cleaned the track, then I adjusted the close limit, then the gate started reversing mid-cycle.” The order matters because each step narrows the fault tree.
- Any photos from during the work. Even poor photos show which wires were disconnected at some point, and that’s information a technician can use to check for polarity errors.
- The symptom as it exists right now, in one sentence. Not the history, not the theories, just the current behavior: “The gate opens fully, then reverses immediately after closing six inches.” That sentence is the map.
If you hand a technician those five items with your service call, you’ve eliminated the blank-slate phase. The technician starts with a documented record, and the rate of diagnosis triples. You’re not doing Vance Gate Repair’s job for us; you’re doing what every competent gate installation in Canoga Park should have done from day one, which is building the documentation trail that makes future service possible. We follow the same expectation on every visit: a written scope, a written price before work begins, and a photo record before we leave.
One more thing worth saying: if you’ve already called another gate company and gotten a written estimate that feels high, bring it to us. We offer a free second opinion on any written estimate from another provider. We’ll review the scope and tell you whether the work matches the price. No charge, no pressure. Clarity is the product, not just the procedure.
Common Mistakes to Avoid
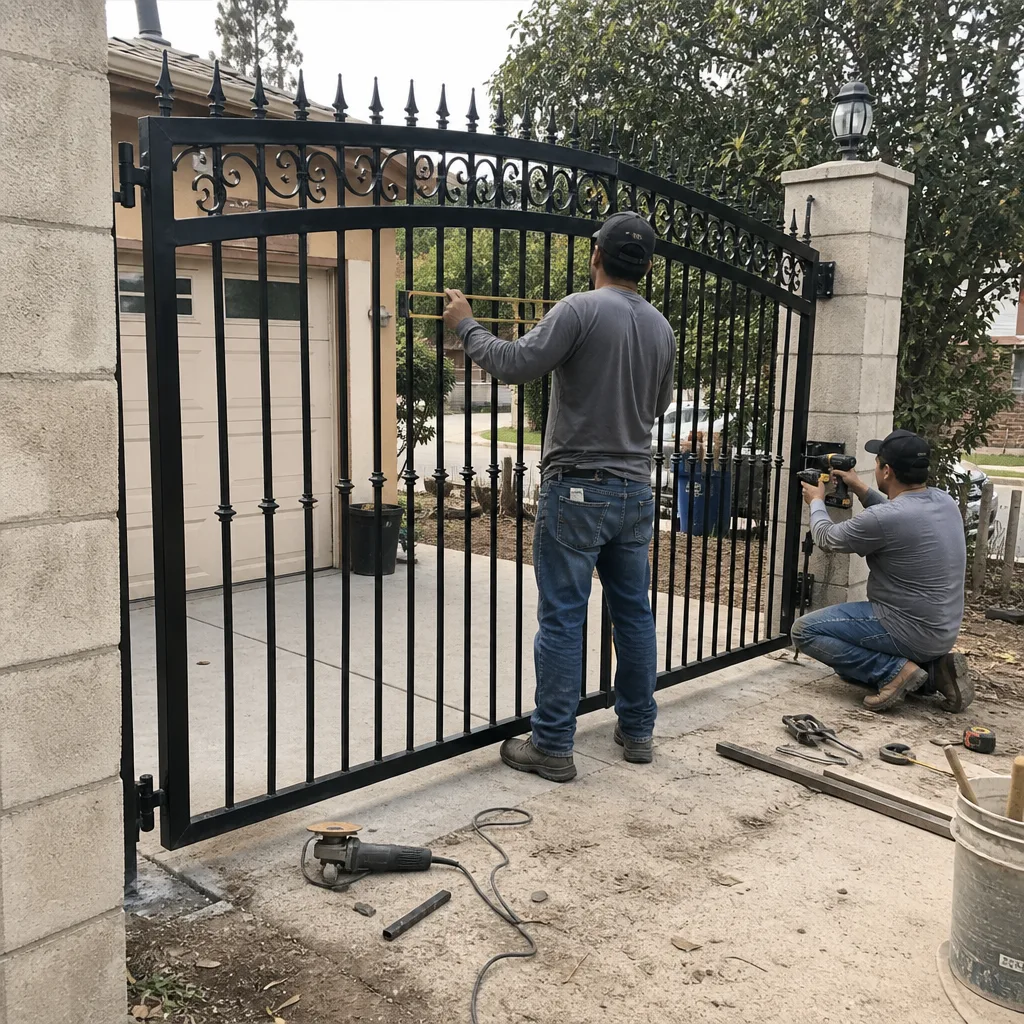
- Adjusting force settings to fix a dragging gate. This is the single most common mistake we see in Canoga Park, and it’s also the one that creates UL 325 entrapment violations. The dragging gate has a mechanical cause, usually worn rollers or a sagging hinge, and the force adjustment masks it while creating a safety hazard. The mechanical repair is the repair.
- Unplugging the motor without photographing the board first. Every wire that gets disconnected is a wire that must be reconnected correctly later, from memory. Ten seconds of photos before unplugging saves the next technician an hour of tracing.
- Replacing the battery in the remote without testing the operator itself. A dead remote battery is the most common thing we hear about, but it’s also frequently a symptom of a deeper problem: a receiver that failed, a board that lost its programming, or a power interruption. If a new battery doesn’t restore function in two minutes, stop and evaluate.
- Lubricating the gate with WD-40. WD-40 is a solvent and a water displacer, not a long-term lubricant. It cleans and then it leaves metal under-lubricated. Use white lithium grease on hinges and silicone spray on plastic rollers. The wrong choice in either direction shortens the component life.
- Continuing a job past the point where you stopped documenting. The moment you stop taking photos and writing notes is the moment the task becomes unrecoverable, even if you finish it. The documentation is the job. Without it, you’re creating a mystery for the next service visit.
- Tightening a chain “until it feels right.” Chain tension has a specification, not a feel. Overtightening transfers load directly to the motor sprocket and the gearbox, shortening both. Mark the original tension point before any change, and if you don’t know the spec, stop.
- Running a new low-voltage wire run without marking the route. Buried or concealed wiring that isn’t documented is a gift to every future homeowner and technician who will eventually need to locate it. Take photos of the trench, the entry points, and the wire color coding before covering anything.
When to Call a Professional
Call a professional when the task touches the control board, motor, gearbox, springs, post footing, or any line-voltage connection. Call when the symptom is intermittent rather than constant; intermittent faults require signal tracing while the fault is live, and that’s a diagnostic skill more than a repair skill. Call when the gate is stuck in any position that blocks vehicle access or creates a security gap, since a half-secured gate is worse than a clearly broken one. Call when you’ve done partial DIY work and you’re not sure what’s wrong; the handoff described above is faster and cheaper than guessing. And call when you’ve read this far and you’re still weighing whether the task has a safe stopping point. It doesn’t, or you’d already know. Vance Gate Repair offers free estimates across Canoga Park, and every estimate is the written kind: a scope, a price, and a record of what we recommended, handed to you before any work begins. Reach us at (805) 210-8672.
Frequently Asked Questions
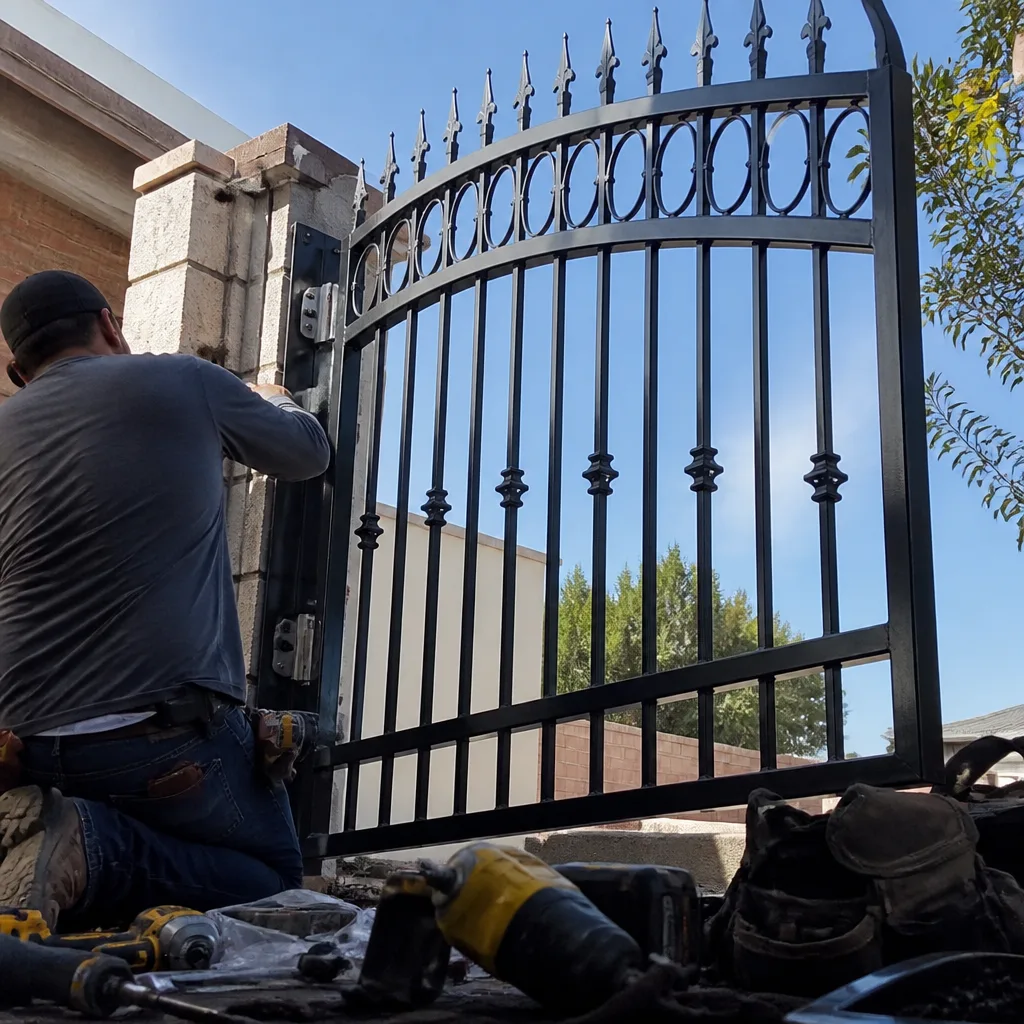
Yes. Lubrication is the safest DIY task on any gate. Use white lithium grease on metal hinge surfaces and silicone spray on rollers and tracks. Clean the surface first so you’re not working grit into the joint. Lubricate every six months in Canoga Park’s dry, dusty climate, because fine particulate builds up faster here than in coastal zones. For a full schedule, see our Gate Repair Maintenance Checklist for Canoga Park Homeowners.
If the wall-mounted control or keypad works but the remote doesn’t, the problem is the remote battery, the receiver, or the programming. Replace the battery first, then check if other remotes work. If all remotes fail but the wall station works, the issue is the receiver circuit, which is board-level and professional territory. If the wall station also fails, the problem is upstream in the operator itself.
A slamming gate after a limit adjustment means the close limit is set past the physical stop and the motor is driving into the end of travel. The motor’s obstruction sensor may or may not catch it. Stop using the gate, note exactly what you changed and in what direction, and call us at (805) 210-8672. This is a recoverable miss, but it’s also an entrapment hazard until it’s reset correctly.
A control board replacement runs between $350 and $850 installed, depending on the brand (LiftMaster and FAAC boards sit in the middle of that range; BFT replacement boards run on the upper end) and whether the technician has to trace undocumented prior wiring. The installed part is the smaller half of the cost; the configuration and safety-circuit verification is the larger half. Get the written estimate before any work starts so there’s no ambiguity on the price.
We service nine major gate-automation brands: LiftMaster, FAAC, BFT, Linear, Viking, Ghost Controls, DoorKing, Elite, and Mighty Mule. If your operator is one of these, we can repair it without steering you toward a replacement. If it’s a brand outside that list, call us anyway and we’ll tell you honestly whether it’s serviceable. The gate motor and opener service in Canoga Park we provide is repair-first, not replacement-first.
Photograph the gate from the rail side and the hinge side, note when the problem started and whether it’s constant or intermittent, and list anything you’ve already tried or adjusted. Do not continue adjusting or disassembling after you’ve decided to call. The cleaner the starting state, the faster the diagnostic, and the more useful the documentation record we leave behind.
The Bottom Line
The DIY-vs-professional gate question in Canoga Park comes down to recoverability, not confidence. Lubrication, remote batteries, and small, documented adjustments are legitimately doable and genuinely cheaper. Control-board work, motor or gearbox replacement, force-setting changes on an aging gate, and post work are not. They’re tasks where an undocumented change creates a compound cost, and a working-but-non-compliant gate is a liability you carry personally. When in doubt, apply the documentation test. If you can’t photograph the before, describe the change in one sentence, and photograph the after, the task belongs with a professional who will hand you a written price before touching anything and a documented record when they leave. That’s the standard we hold every gate to in Canoga Park.
Written by Adrian Vance, Owner at Vance Gate Repair Canoga Park, serving Canoga Park since 2014.