
Last updated September 20, 2026
Free on-site gate assessment - hinges, posts, and your LiftMaster or Nice gate operator checked before anything is quoted
The assessment is free and the quote is the invoice.
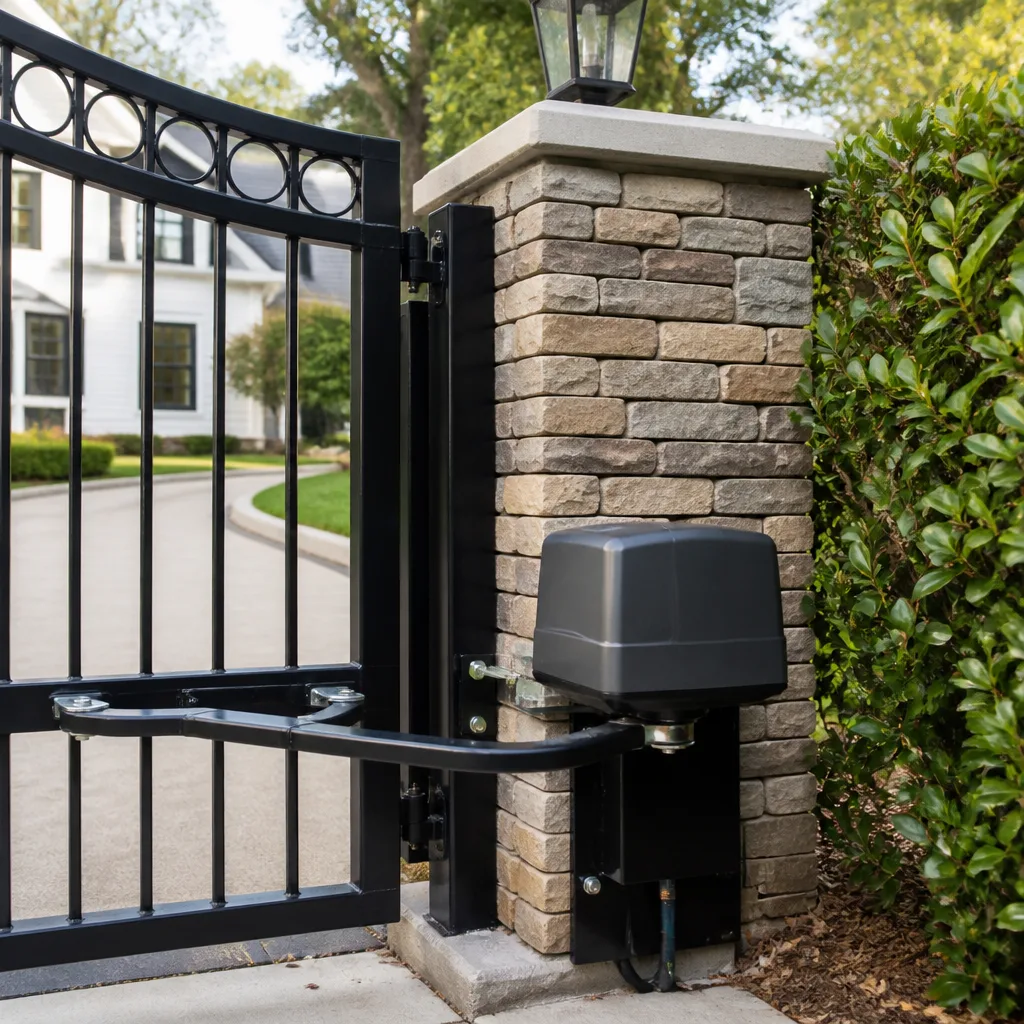
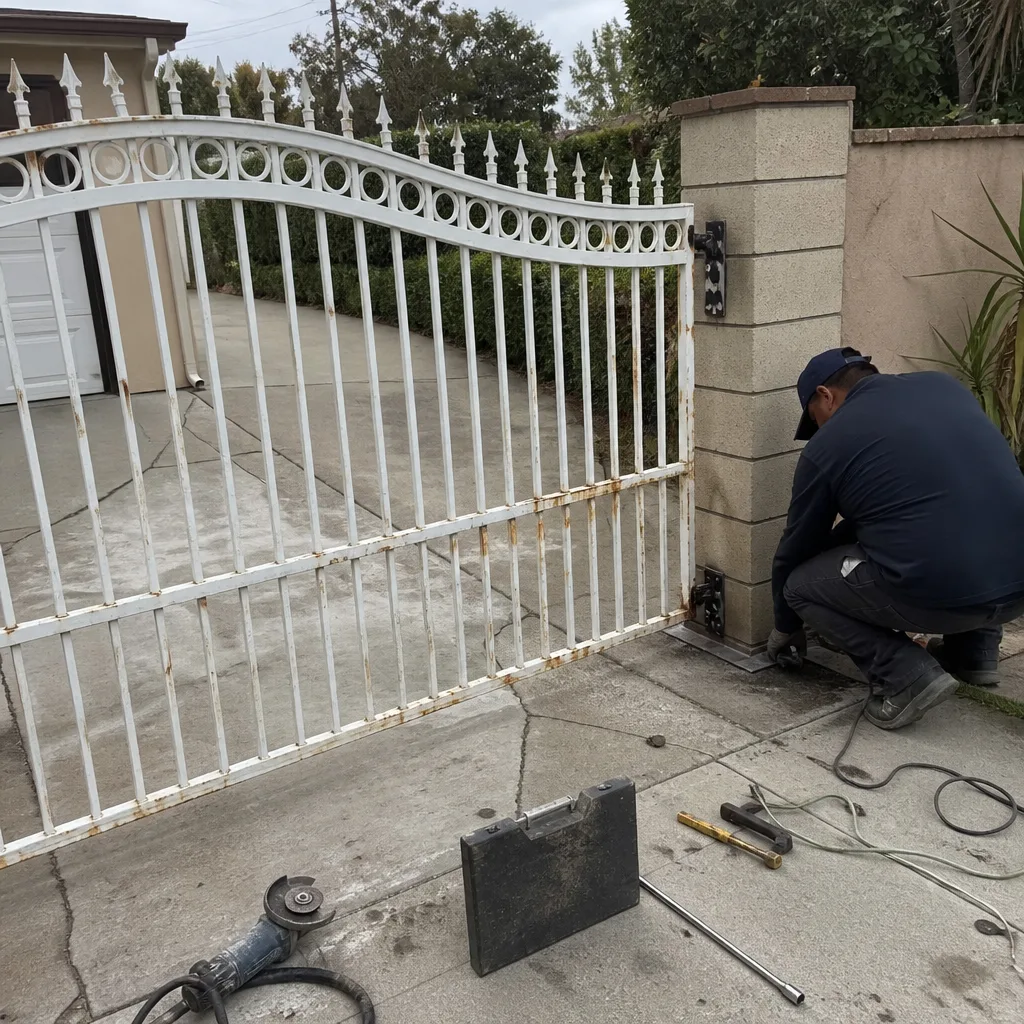 Before
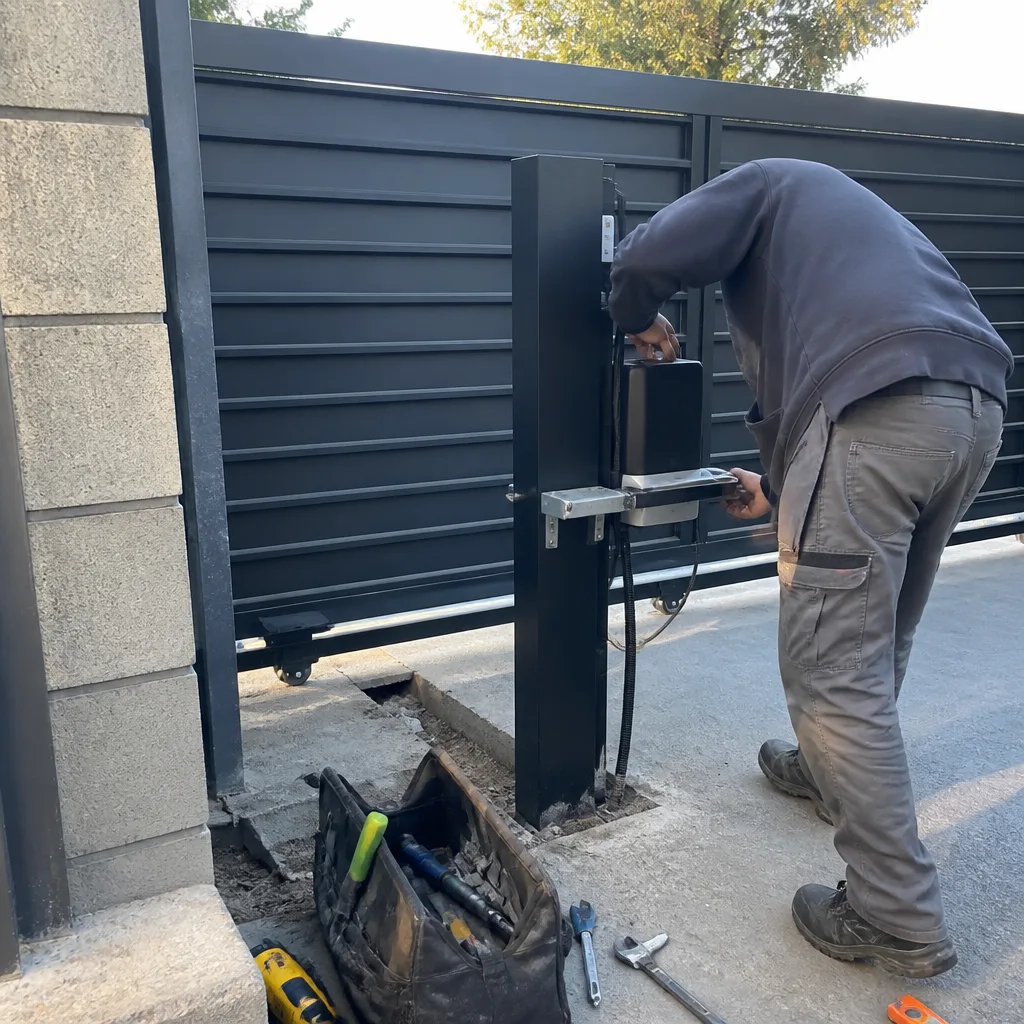 After
After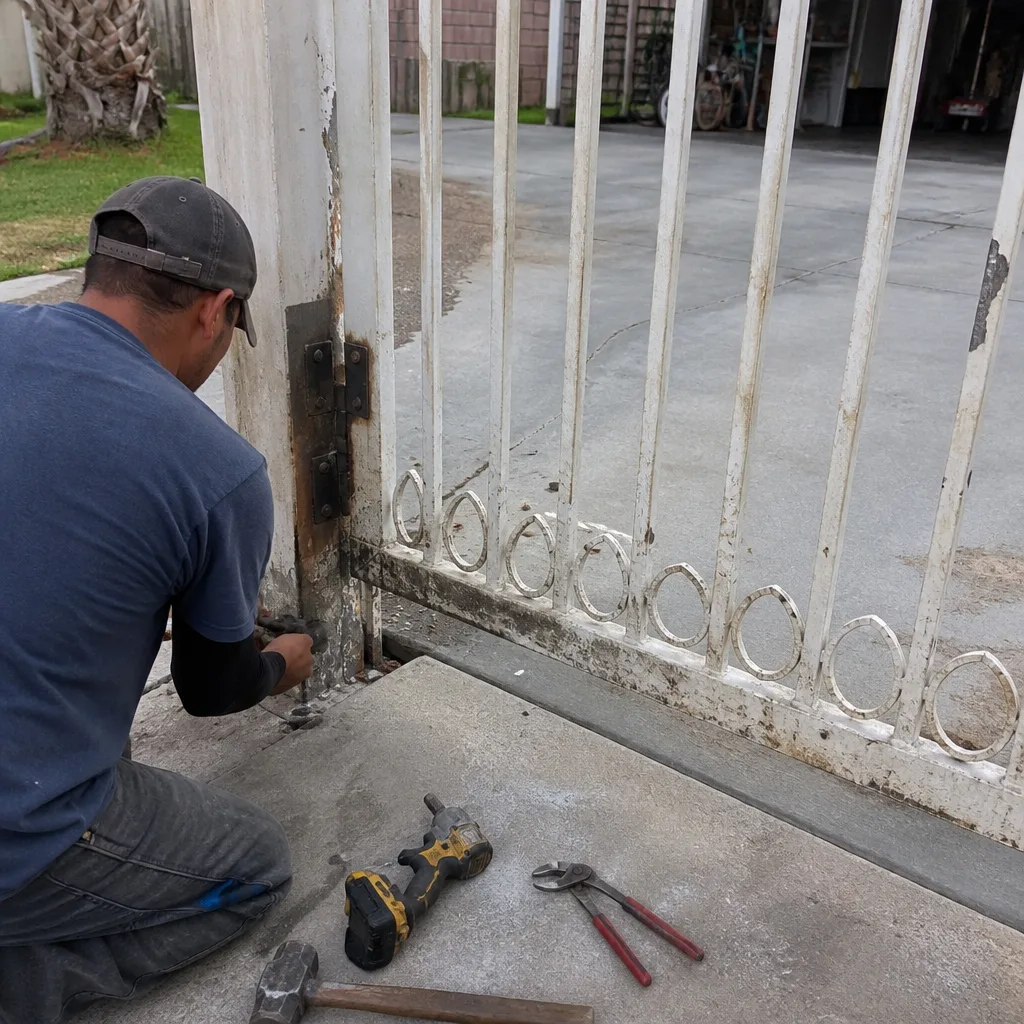 Before
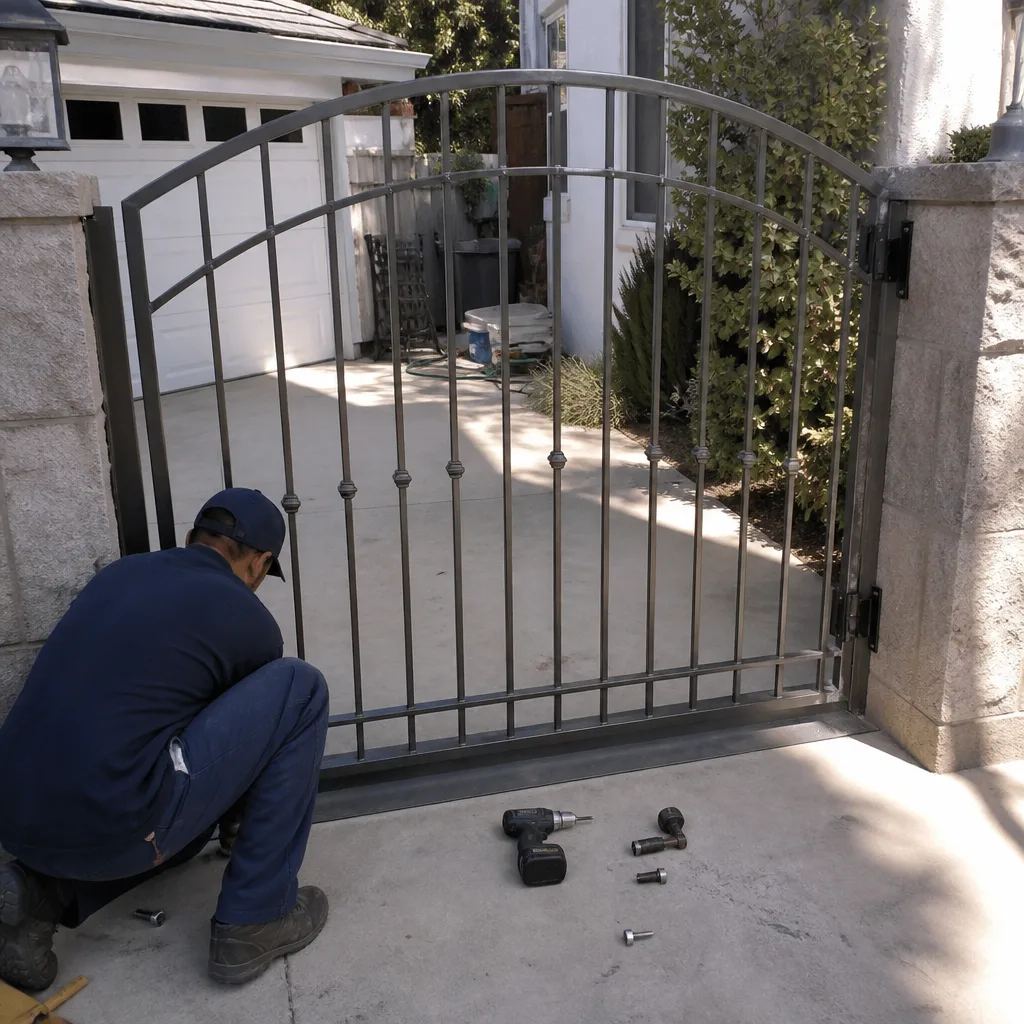 After
After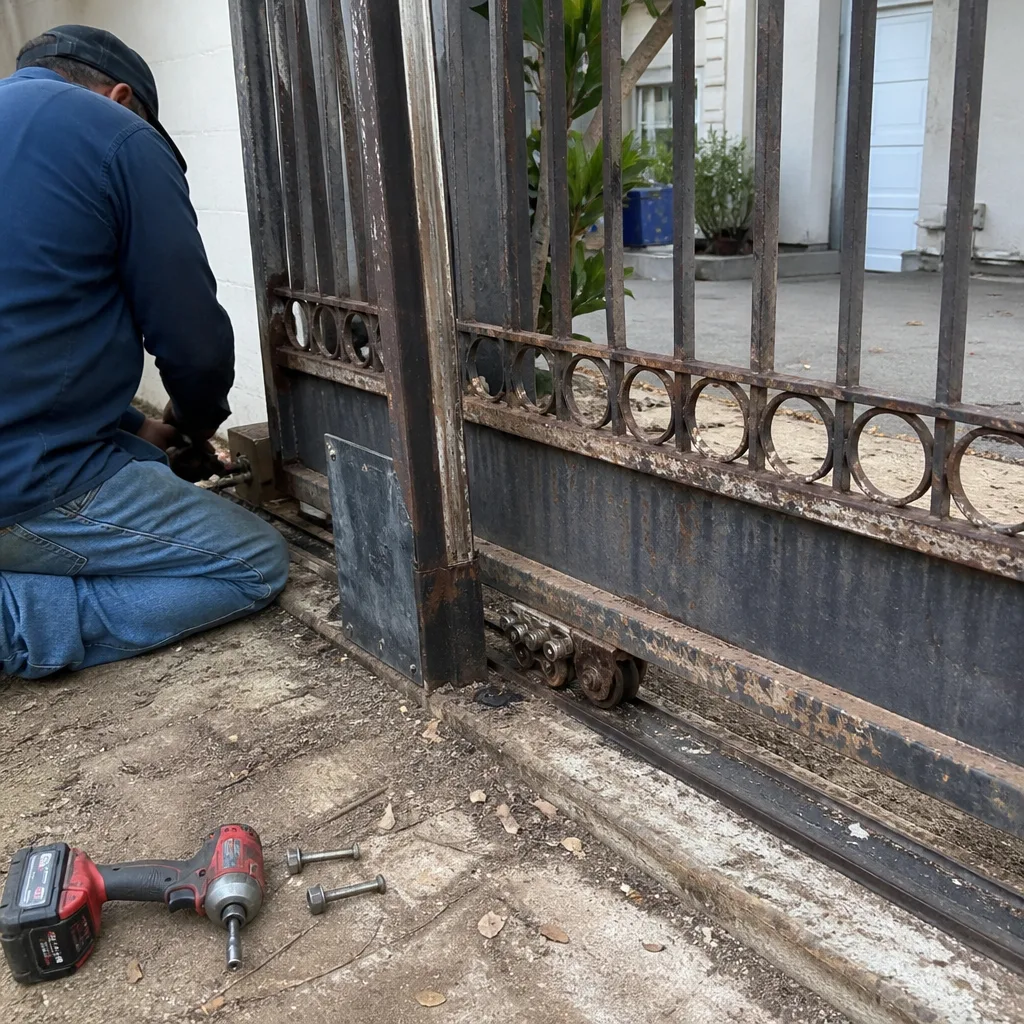 Before
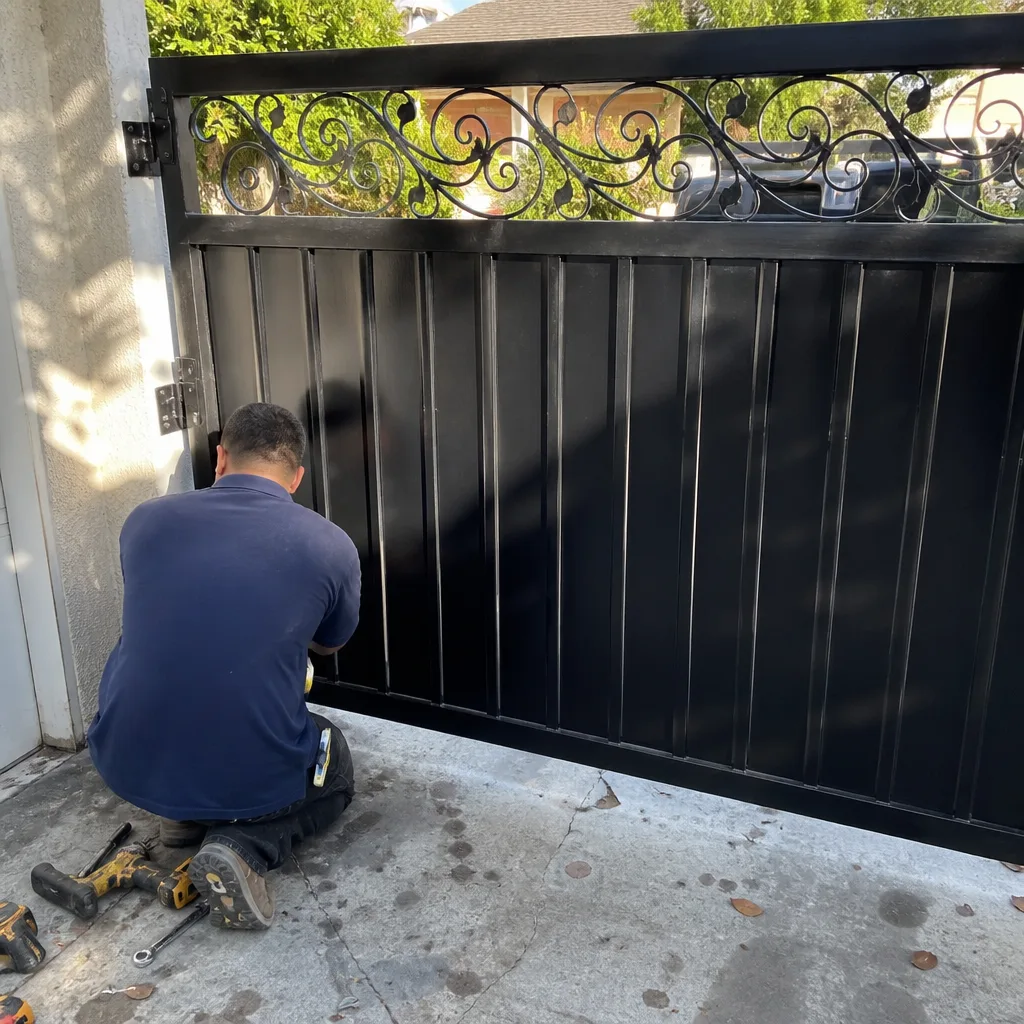 After
AfterGate Repair Maintenance Checklist for Canoga Park Homeowners
Most printed maintenance checklists are liability shields for the company that made them, not diagnostic tools for the homeowner who uses them. They’ll tell you to “inspect the chain” without ever telling you what a worn chain actually looks like, how many inches of slack is acceptable, or what voltage reading means your motor has six months left. This guide is different. We’re going to give you pass/fail thresholds for every inspection point on a Canoga Park gate, explain which maintenance tasks genuinely extend gate life and which ones are billable busywork, and show you how to document everything with a phone photo so your next service visit doesn’t start blind. By the end, you’ll have a checklist you can hand to any technician and say, “This is what I found. Confirm or correct it.”
Quick Answer
A useful gate maintenance checklist for Canoga Park homeowners covers five systems: the track and wheels (or hinges), the motor and electronics, the safety sensors, the physical structure, and the power supply. You should inspect your gate twice a year, check chain slack (should be under 1/2 inch of vertical deflection), test the photo-eye alignment at least once a season, and log every reading with a dated phone photo so successive visits create a comparison record. Most genuine maintenance takes under 30 minutes and costs nothing, but skip any item where you don’t know the pass/fail number and you’re just walking around the gate feeling responsible. For deeper background, see our Gate Repair Permits, Codes & Inspections in CA: What You Need to Know.
Table of Contents
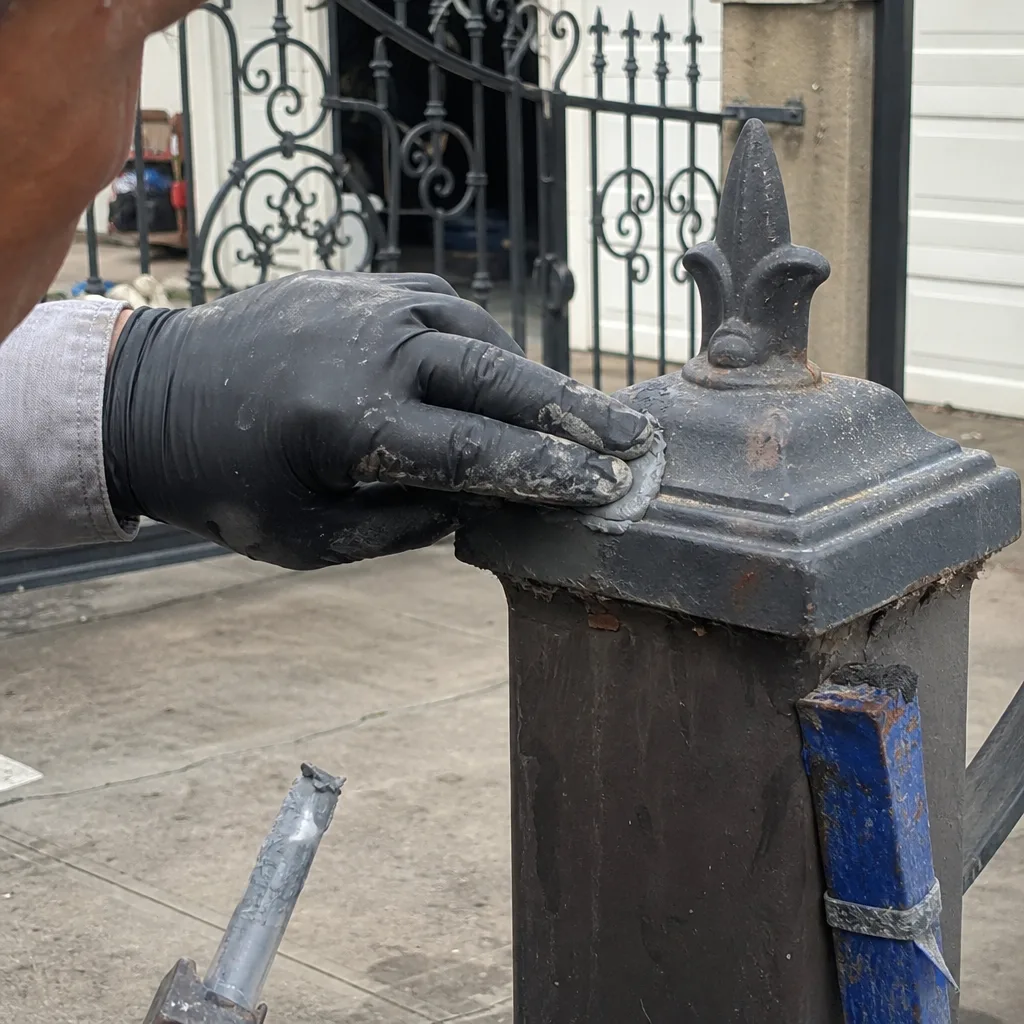
- Why Canoga Park Gates Need a Different Maintenance Schedule
- Track, Wheels, and Chain: The Measurable Checks
- Motor and Electronics: Voltage, Limits, and the Six-Month Warning
- Photo-Eyes and Safety Edges: The Checks That Actually Matter
- Structure, Seals, and UV: Canoga Park-Specific Damage
- Documentation: The Photo Log and the Written Record
- What Actually Extends Gate Life vs. What’s Billable Busywork
- Common Mistakes to Avoid
- When to Call a Professional
- Frequently Asked Questions
BeforeAfterWhy Canoga Park Gates Need a Different Maintenance Schedule
Canoga Park sits in the western San Fernando Valley, and the climate here does two specific things to gate hardware. First, the summer heat regularly pushes past 100 degrees, which cooks lubricants out of chains and wheel bearings faster than coastal communities experience. Second, the Santa Ana winds push fine dust and grit into every moving part, and that dust mixes with whatever grease remains to form a grinding paste. A gate that would run fine in Redondo Beach for two years between service calls will start binding and straining in Canoga Park within eight months if the track isn’t cleared.
We’ve pulled apart gate motors in Winnetka and Woodland Hills that were full of a talcum-fine dust that had settled on the control board and caused shorts. That dust comes straight through the cooling vents on the motor housing. The motor doesn’t fail because it’s old; it fails because the heat sink is insulated by a quarter inch of particulate. If you live in Canoga Park, your maintenance schedule should be six months, not twelve. And if you live within a mile of a vacant lot or any stretch of open dirt, make it four months during the Santa Ana season, which runs roughly September through January.
The same schedule logic applies to your gate motor and opener service in Canoga Park: the motor is the most climate-sensitive component on the property. The track might tolerate dust. The control board won’t.
Track, Wheels, and Chain: The Measurable Checks
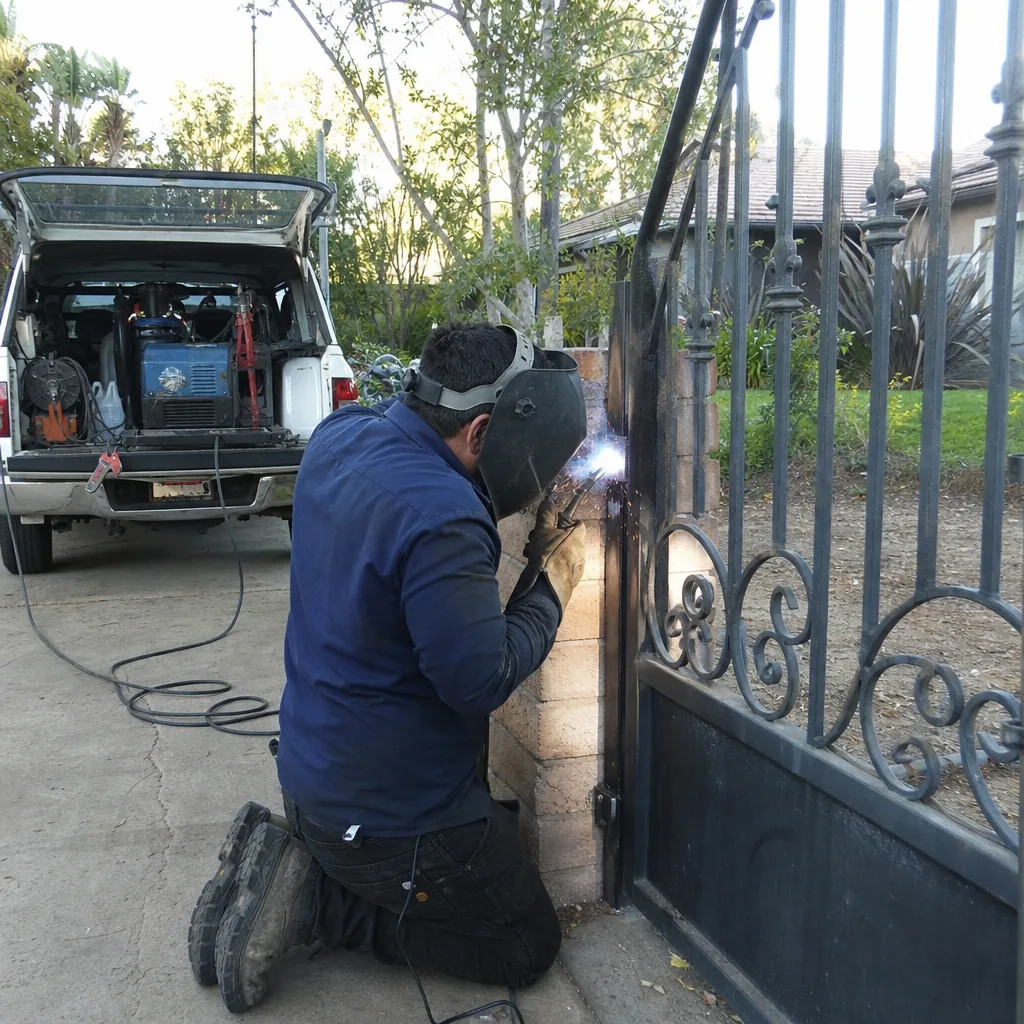
If you have a sliding gate, the track is the single most failure-prone component. If you have a swinging gate, the hinges and the actuator arm take that role. Here’s what to check, with the actual numbers that decide pass or fail.
Chain slack. On a chain-drive sliding gate, press down on the chain at its midpoint between the sprockets. The vertical deflection should be under 1/2 inch. If it moves 3/4 inch or more, the chain is stretched or the tensioner has backed off. A loose chain doesn’t just make noise; it accelerates sprocket wear and can jump a tooth, which then throws your limit settings off by several feet. If your gate stops short or overshoots the closed position by more than two inches, a stretched chain is the first suspect.
Wheel and bearing wear. Look at the top of each wheel (roller) where it contacts the track. There should be a smooth, flat contact patch. If the wheel has developed a flat spot, or if you can see a visible groove worn into the wheel surface, that wheel is done. Check for side-to-side wiggle by pressing the gate body firmly toward and away from the track. Movement beyond 1/8 inch means the bearing is failing or the guide rollers need adjustment. In Canoga Park’s dry air, wheel bearings run with very little lubricant retention because the heat thins the grease and the dust wicks it away. We replace more wheel bearings in August than in any other month.
Track obstruction and accumulation. Run a flat screwdriver or putty knife along the bottom inside edge of the track where the wheels ride. In Canoga Park, you’ll likely pull out compacted dust, small pebbles, and dried seed pods. Clean that out every maintenance cycle. If the gate grinds or shudders while moving, the problem is almost always debris in the track or a failing wheel, not the motor.
Hinge play on swing gates. Open the gate by hand (with the operator disconnected) halfway and lift the gate leaf vertically. Any vertical lift beyond 1/4 inch means the hinge bushings are worn. Horizontally, measure the gap movement at the free edge of the gate when you push and pull it. More than 3/8 inch of movement at the latch edge translates to several degrees of hinge slop, and that slop multiplies through the actuator arm and can cause the motor to strain and overheat.
Motor and Electronics: Voltage, Limits, and the Six-Month Warning
This section is the one most checklist guides get wrong. They tell you to “check the motor” and then give you nothing to measure. Here are the actual readings that matter.
Standby voltage at the control board. Most residential gate operators in Canoga Park run on either 24V DC or 115V AC internal systems. Use a multimeter at the battery or the board terminals while the gate is at rest. For a 24V DC system, a healthy reading is between 25V and 28V. If your battery is reading 22V or lower at rest, or if your 115V system is pulling more than the rated amperage while the gate is in motion, your motor is working against a mechanical bind or the capacitors are starting to fail. That voltage drop is the six-month warning: motors that read persistently low voltage under load almost always fail within one to two service cycles because the armature is overheating while compensating for the resistance.
Limit switch calibration check. The limit switches (or magnetic limit sensors on newer LiftMaster and FAAC models) tell the motor where to stop. You can check calibration without touching any wiring: watch where the gate stops, then measure the gap between the gate edge and the stop post at both the open and closed positions. Both gaps should match what the manufacturer’s plate specifies, usually between 1/2 inch and 1 inch. If the closed gap is closing hard against the post, or if the open position leaves the gate leaf floating too far free, the limits have drifted. Drifted limits are the second most common cause of motor burnout in Canoga Park gates, right behind dust-clogged heat sinks.
Ground and terminal inspection. With the power completely disconnected, remove the control board cover and look at every terminal block. What you don’t want to see: white or green corrosion powder on any screw terminal (especially the ground bonding points), charred or discolored wire insulation, or insect debris bridging two adjacent terminals. Ants and earwigs are a real problem in Canoga Park yards, and an ant colony inside a control enclosure can short a board in a week. If you find any of these conditions, do not spray contact cleaner and hope. Disconnect the system and call a gate technician. Control board failures climb noticeably in the months right after the first heavy rains, when dormant corrosion gets moisture and becomes conductive.
Motor housing temperature. After a normal cycle, place your hand on the motor housing for five seconds. If it’s warm, that’s normal. If it’s too hot to keep your hand on, the motor is running under load or the cooling fan (if equipped) has failed. A hot-running motor in Canoga Park’s summer isn’t a future problem; it’s a current one, and it’s shortening the life of the capacitor every time the gate cycles. Our gate repair service in Canoga Park regularly sees motors that ran hot for a full season and cooked themselves just before a heat wave.
Photo-Eyes and Safety Edges: The Checks That Actually Matter
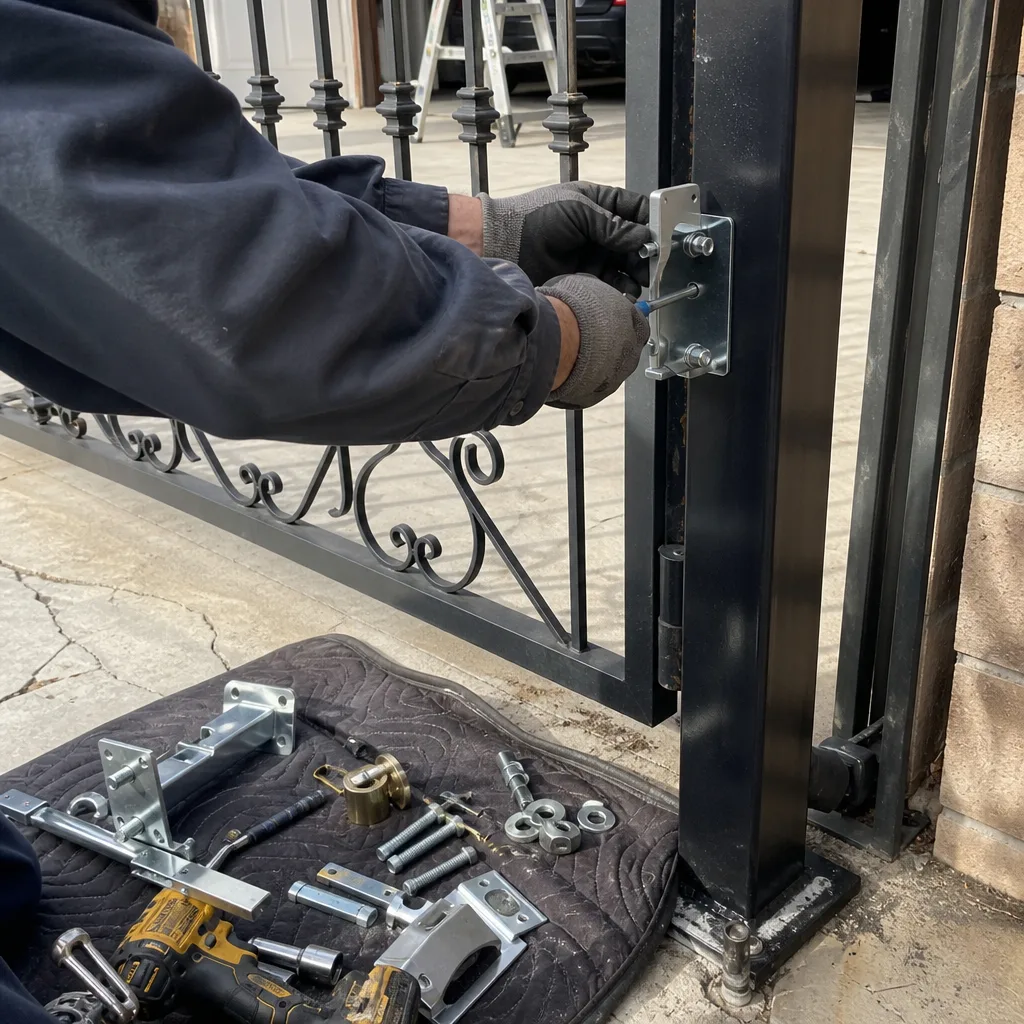
There are two safety devices on any automatic gate installed to current code: the photo-eye (the infrared beam that stops the gate if something crosses the path) and, on many modern gates, a safety edge or contact strip on the leading edge of the gate leaf. Both degrade over time in Canoga Park’s environment, and both are cheap to check if you know the tolerances.
Photo-eye alignment. The photo-eye is the small sensor pair mounted at ankle height on either side of the gate opening, or at the ends of the gate leaf. The two eyes have to point at each other within a tolerance of about 1/2 inch over a typical 12-foot opening. If the gate hesitates, reverses mid-cycle, or refuses to close and you have to hold the override, the photo-eye is misaligned, dirty, or failed. Clean both lenses with a dry cloth first. Then check the alignment: most eyes have a small indicator light that glows solid when aligned. If it’s blinking, alignment is off. If it’s out, the eye is powered down or dead. A gate that auto-reverses repeatedly in Canoga Park is usually a photo-eye that shifted when the post settled after winter rains, not a motor problem.
Safety edge test. If your gate has a rubber or aluminum contact edge along its leading edge, test it with a cardboard box or a rolled-up jacket. Start the gate closing and place the object in the path so the gate contacts it. The gate should reverse within one second and within two inches of contact. If it doesn’t, the safety edge has failed or the sensitivity setting on the control board has drifted too low. This is not a maintenance item you adjust casually. A gate that doesn’t reverse on contact is dangerous, and in Canoga Park, where driveway gates often face the street with pedestrian traffic on the sidewalk, this is the one check you should never skip. If the edge fails the box test, disconnect the automatic function (there’s usually a manual release) and call a professional before running the gate again.
Warning: high-tension hazards. The safety sensors are safe to inspect and clean. The chain, belt, and spring systems on a gate are not something you should adjust by hand with the power connected or the spring under tension. A chain under motor load can crush fingers, and a gate’s counterbalance spring stores enough energy to break a wrist. If any check in this guide leads you to a spring, cable, or chain adjustment, that’s the line where you stop and call a trained technician. Our Gate Repair services will not describe dangerous adjustments as DIY steps because a real maintenance guide draws the line clearly.
Structure, Seals, and UV: Canoga Park-Specific Damage
The San Fernando Valley’s UV index is among the highest in the Los Angeles basin, and your gate’s rubber and plastic components are paying for it. This section covers the checks that are almost never on a generic nationwide checklist because, frankly, a checklist written in Ohio doesn’t know what our sun does to wiring conduit.
Rubber seals and gaskets. The rubber seal along the bottom of a sliding gate, the weather gasket on the motor housing, and the grommets where wiring enters the steel frame all degrade in Canoga Park’s UV within two to three years. You’ll see the telltale signs before failure: surface cracking (fine lines that look like dried mud), hardening (the rubber doesn’t spring back when you press it with a fingernail), and discoloration from black to gray. A cracked seal lets dust into the bearing race; a cracked motor gasket lets dust onto the board. Replace any rubber component that shows surface cracking, even if it’s still attached. Seals are cheap. The bearing or board they protect is not.
Wiring conduit and insulation. Examine any exposed low-voltage wiring, especially the run from the control box to the photo-eye or the actuator. In Canoga Park’s sun, the plastic outer sheath on that cable gets brittle within five years. Look for any place where the insulation is cracked, flaking, or exposing the copper underneath. Exposed wire in the Canoga Park dust isn’t just a short-circuit risk; it also gives the ants a path to follow into your control board. Wrap any damaged sections in UV-rated electrical tape as a stopgap, but schedule replacement within the next service cycle.
Gate frame paint and rust. You know your own gate’s finish. What you’re looking for is new rust blooming through the paint, especially at weld points and at the bottom rail where irrigation overspray lands. In Canoga Park’s air, rust doesn’t spread fast, but it doesn’t stop on its own either. Sand it to bare metal, hit it with a rust converter, and repaint. On aluminum gates, look for white chalky oxidation (aluminum’s version of rust). It’s cosmetic mostly, but if it’s at a hinge point, the powdery buildup can bind the pivot.
Post settlement after winter rain. Canoga Park doesn’t get much rain, but when it does, the clay-heavy soil expands and contracts, and gate posts can shift. Measure the gap between the gate and the post at the top and bottom of the closed position. If the top gap is more than 3/8 inch wider than the bottom gap, the post has moved out of vertical. A gate that latches fine in July and sticks in February is almost always a post-settlement problem, not a latch problem. This matters for your gate installation in Canoga Park too: a well-set post should hold level for a decade, but the valley’s soil means even good concrete footings need a check after a wet winter.
Documentation: The Photo Log and the Written Record
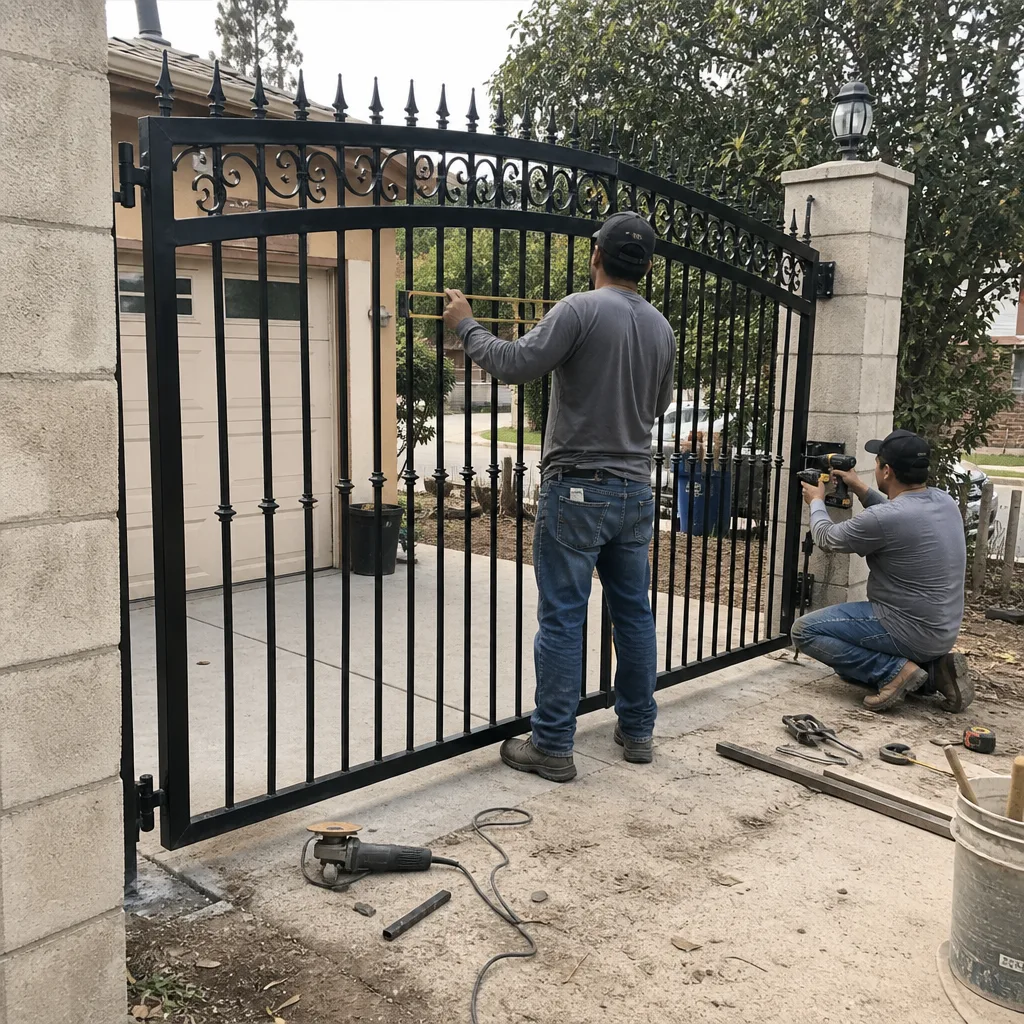
Here’s the part of this checklist that makes it a diagnostic tool instead of a paper exercise, and you can find more guides & resources on our blog. Every check you do should leave a record. Without a record, your next visit starts from zero. With a record, a technician can see what changed, what didn’t, and what’s getting worse.
What to photograph, and how.
- Photograph the overall gate in both open and closed positions from the same angle every time. Stand in the same spot. Use the same framing. This is your before/after reference for post settlement and track wear.
- Photograph the chain at the midpoint with a ruler or a coin for scale. The deflection under finger pressure is the reading.
- Photograph the wheels, one close-up each, from the track side. You’re logging contact patch condition and bearing grease condition.
- Photograph the control board with the cover removed. Lay a sheet of white paper behind the terminal block for contrast if needed. You’re logging corrosion, insect debris, and heat damage.
- Photograph the photo-eye lenses with the indicator light visible. A smartphone held one foot away is enough. You’re logging whether the light was solid (aligned) or blinking (misaligned).
- Photograph any rubber seal, gasket, or conduit showing UV cracking.
- Photograph the gate edge and post gap with a tape measure if you have settlement concerns.
The one-page log format. Keep a simple paper or digital log with four columns: Date, Finding, Reading, and Action. For example:
- Date: March 12, 2026
- Finding: Chain slack at midpoint
- Reading: 5/8 inch deflection (fail – over 1/2 inch)
- Action: Called technician for chain tension and sprocket wear inspection
That’s it. Four columns. You don’t need a binder or a spreadsheet; a note in your phone with four fields is enough. The point is that the next technician to open your control panel can read your log and know what was measured last time, what the reading was, and what was done about it. This is the same documentation habit that Vance Gate Repair Canoga Park follows on every visit we make: we photograph what we found, what we adjusted, and what we installed, and we leave that record with the homeowner. Your home log makes you a participant in that process instead of a bystander handing over a mystery.
What Actually Extends Gate Life vs. What’s Billable Busywork
Let’s be blunt about this because it’s the part most maintenance guides won’t address. Some maintenance tasks genuinely add years to a gate. Some don’t add anything measurable but appear on every invoice anyway. Here’s the difference.
Genuinely useful maintenance:
- Clearing track debris every Santa Ana season (directly prevents wheel and bearing damage).
- Replacing UV-degraded rubber seals and wiring conduit (prevents dust and moisture damage to electrical components).
- Checking and correcting photo-eye alignment (prevents intermittent operation and false reversals).
- Measuring chain slack and correcting tension (prevents sprocket wear and limit drift).
- Cleaning dust from the motor housing cooling vents and the control board enclosure (prevents overheating and short circuits).
- Inspecting and tightening ground terminal connections (prevents electrical noise and board failures).
Billable busywork (skip unless there’s a specific problem):
- Spraying every pivot point with WD-40 on every visit. WD-40 is a solvent, not a lubricant. It cleans residue but provides almost no lasting lubrication. Most gate manufacturers spec a silicone or lithium grease for pivot points and a chain-specific lubricant for chains. If a technician is confidently hosing down your entire gate with a solvent spray every time, you’re paying for the ritual, not the result.
- Replacing the drive belt “on schedule” when the belt shows no cracking, glazing, or slack. Belts fail on condition, not on a calendar. If the belt is quiet, tight, and crack-free, it doesn’t need replacing at the two-year mark.
- Running a “full diagnostic scan” on a control board that has no symptoms. Passenger cars don’t get an engine scan when nothing is wrong. A gate that operates correctly doesn’t need a board scan. Diagnostic time is legitimate when there’s a fault to find; it’s padding when there isn’t.
- Replacing all four wheels when one has failed. A wheel is a wheel. If three are within spec and one has a flat spot, replace one. (Unless the gate has been running on failed wheels long enough to wear the track unevenly, in which case the track needs addressing, not just the wheels.)
We mention this because Canoga Park homeowners get a lot of maintenance pitches from companies that show up, spray some solvent, hand over a vague invoice, and leave. You can’t evaluate whether that visit helped anything if you don’t have readings. That’s the whole point of the checklist: it turns every maintenance visit into a measurable event. If the chain slack was 3/4 inch before and 1/2 inch after, the visit accomplished something. If nothing on the sheet changed and the bill still says “maintenance,” ask what exactly was maintained.
Common Mistakes to Avoid
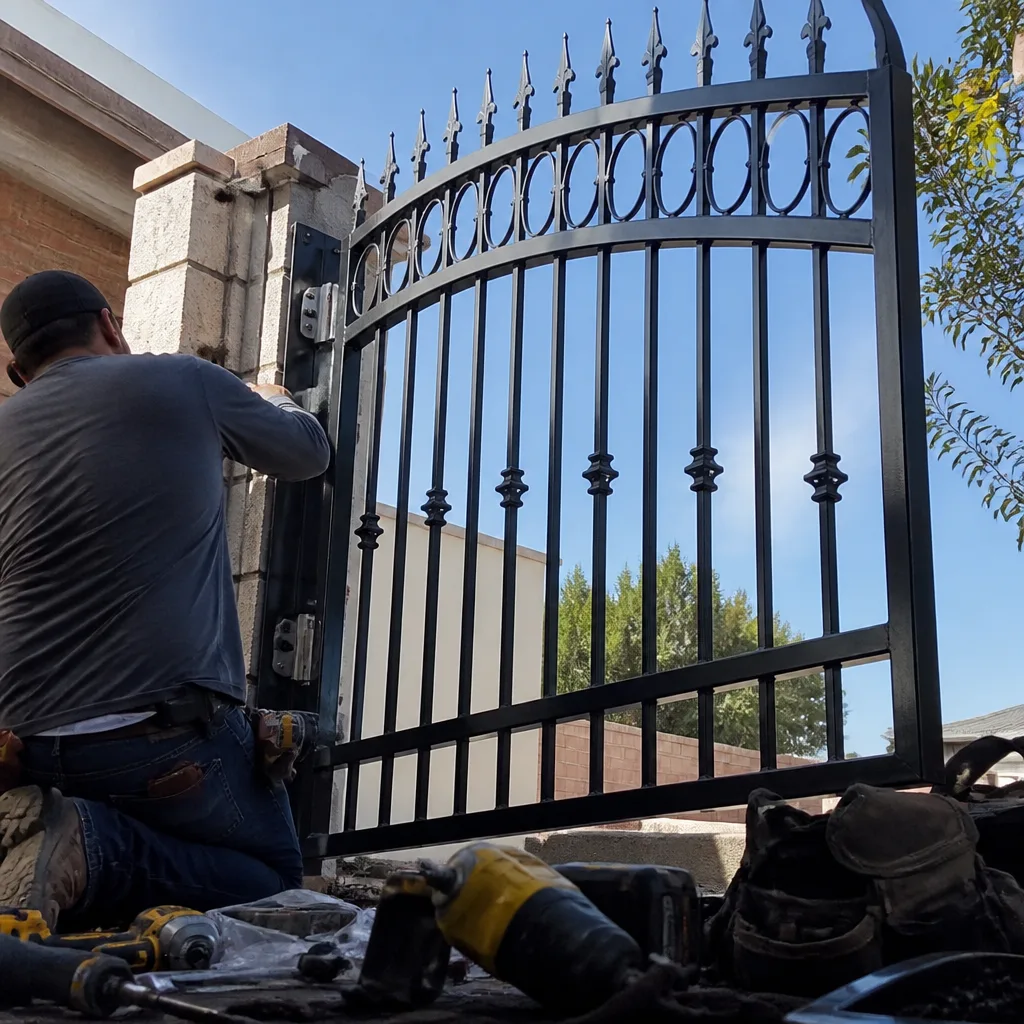
- Skipping the photo-eye check because the gate still closes. A misaligned photo-eye usually doesn’t fail all at once; it degrades. The gate starts hesitating, then reversing occasionally, then refusing to close on cold mornings. By the time you’re holding the override lever, the eye has been out of alignment for months and the motor has accumulated unnecessary cycles.
- Lubricating the chain with motor oil. Motor oil is too thin, and in Canoga Park’s heat it runs off the chain and onto the track, where it combines with dust to form a grinding slurry. Use a chain lubricant that’s designed for the task, or nothing at all if the chain is dry but not showing rust.
- Ignoring the voltage reading because “it still opens.” The motor will keep operating on degrading voltage right up until the moment it doesn’t. The six-month warning we described earlier is real, and it’s one of the most common preventable failures in Canoga Park’s hot, dusty summers.
- Painting over rust instead of treating it. A coat of paint hides the rust for six weeks, then the rust flakes the paint off anyway. You haven’t fixed anything; you’ve just changed the color of the problem.
- Not keeping a photo record. Your memory will not retain chain slack readings from March through September. It simply won’t. The phone photo takes ten seconds and gives you a record that would stand up in a warranty conversation.
- Calling a general handyman for gate motor electrical work. Gate control boards run on low voltage, but that doesn’t make them forgiving. A short in the wrong place destroys the board, and a handyman without gate-specific wiring diagrams will usually replace a motor when the problem is a $40 limit sensor. Canoga Park has several qualified gate-specific technicians; use one for anything that involves the board, the motor, or the safety circuit.
- Testing the safety edge by hand. Don’t test an auto-reverse edge with your body, and don’t test a photo-eye by sticking your foot in the beam. Use a cardboard box or a garbage can. If the edge has failed, the object takes the hit, not you.
When to Call a Professional
Call a gate technician when the gate reverses on its own without obstructions, when you hear grinding or feel vibration in the motor housing that wasn’t there before, when safety devices fail their tests, when the measured chain slack exceeds 3/4 inch, when the gate posts have visibly moved, or when you see scorch marks, corrosion, or insect damage inside the control board enclosure. Also call if the gate is still under a warranty; opening the motor housing or adjusting limit settings yourself may void it. For homeowners anywhere in the 91303, 91304, or 91306 ZIP codes, Vance Gate Repair Canoga Park offers free estimates in Canoga Park - call (805) 210-8672. We photograph everything we find and hand you the written price before any work starts.
Frequently Asked Questions
Twice a year, in spring and fall, and more often (every two months) during Santa Ana wind season if you live near open dirt or a vacant lot. The dust load during wind events is the single biggest local variable, and it settles into the track and control enclosure within days.
A basic inspection with photo documentation and no repairs typically runs between $95 and $185, depending on the gate type and whether you have a single or dual operator. Repairs are priced separately and always quoted in writing before work begins. Most simple adjustments like chain tension and photo-eye alignment fall in the $75 to $150 range, while motor replacements run higher and are quoted after diagnosis.
If the problem is a misaligned photo-eye, a chain tension adjustment, a limit reset, or a simple wheel replacement, yes, those are same-day repairs in most cases. Call (805) 210-8672 and describe exactly what the gate is doing; the symptom you report helps us bring the right parts on the first trip.
Take phone photos from the same angle every time, especially of the chain, wheels, control board, photo-eyes, and seals. Pair those with a four-column log (Date, Finding, Reading, Action). Together they create a comparison record that any future technician can use without relying on your memory or guesswork.
Yes. Heat above 100 degrees thins lubricants, hardens rubber seals, and accelerates the degradation of capacitors and control boards. Motors in Canoga Park that run hot for a full summer typically fail within one to two service cycles after the temperature spike. Cleaning the cooling vents and verifying clean voltage is the most effective heat-related maintenance you can do.
Persistent low voltage under load, a motor housing that’s too hot to touch after a normal cycle, a humming sound with no movement, and repeated limit drift are all signs the motor is failing. A proper diagnosis measures voltage and amperage while the gate runs. Call (805) 210-8672 for an exact quote - estimates are free, and you’ll see the numbers before any work starts.
The Bottom Line
A maintenance checklist only earns its keep if it tells you what a reading means. In Canoga Park, the readings that matter are chain slack, wheel play, photo-eye alignment, standby voltage, and the condition of every rubber and plastic part that the valley’s sun and dust are working against. Check those twice a year, log everything with a photo and four lines of text, and skip the solvent-spray theater. When something measures out of spec, call a technician who writes the price down before picking up a tool. That’s how a gate maintenance routine stops being a chore and starts being a record.
Written by Adrian Vance, Owner at Vance Gate Repair Canoga Park, serving Canoga Park since 2014.